App Manual
The display is set up and configured from the mobile app. This page shows what each step looks like. For the display itself — mounting, resetting, storing it — see the user manual.
Signing in
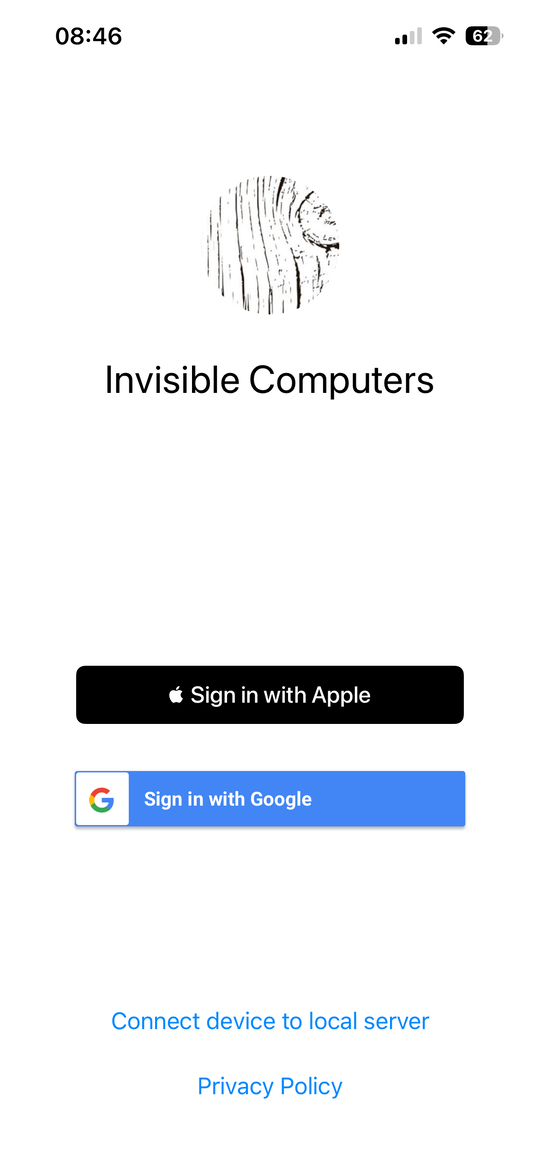
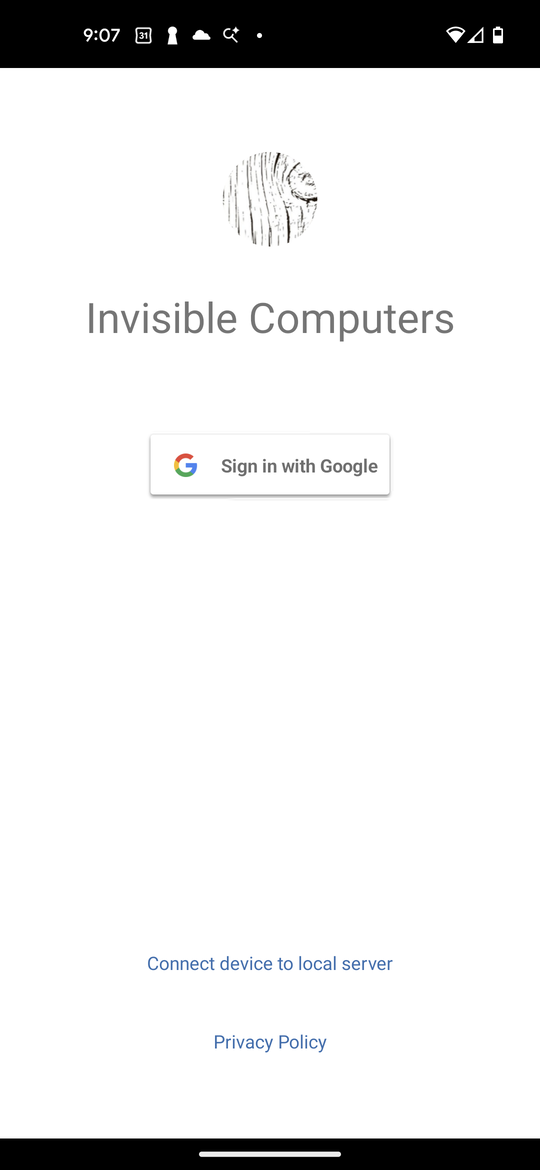
The app needs an account so your displays stay configured across phones. You can also run a display without an account, from your own server, using the local server option.
Adding a display
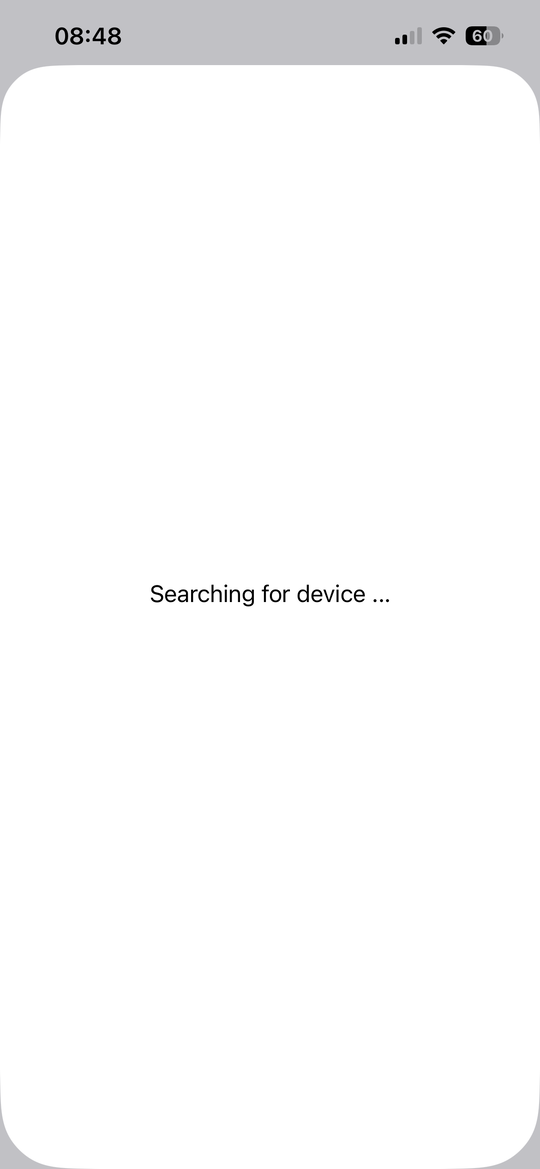
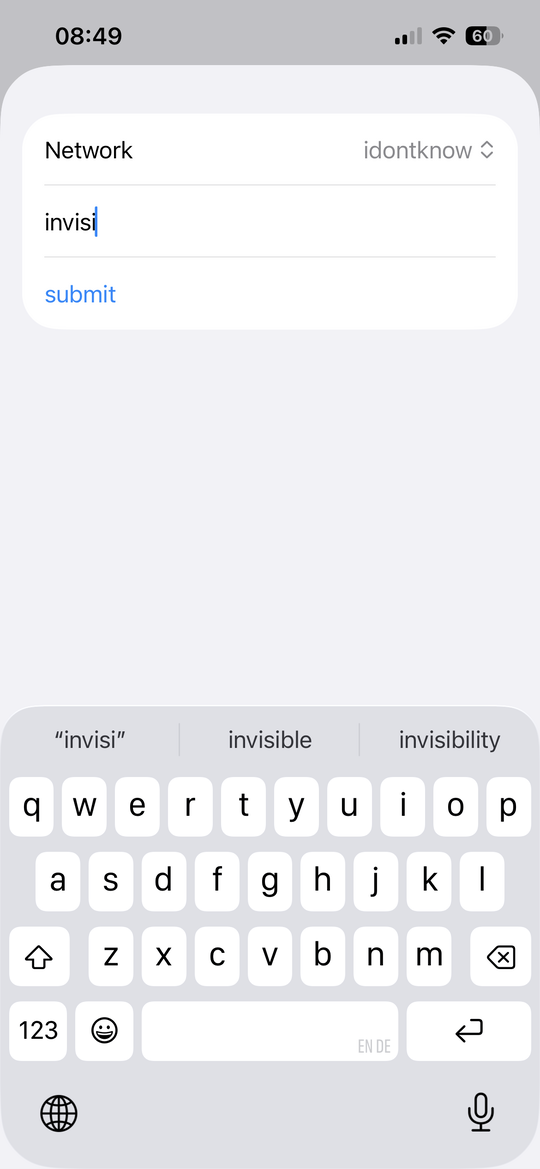
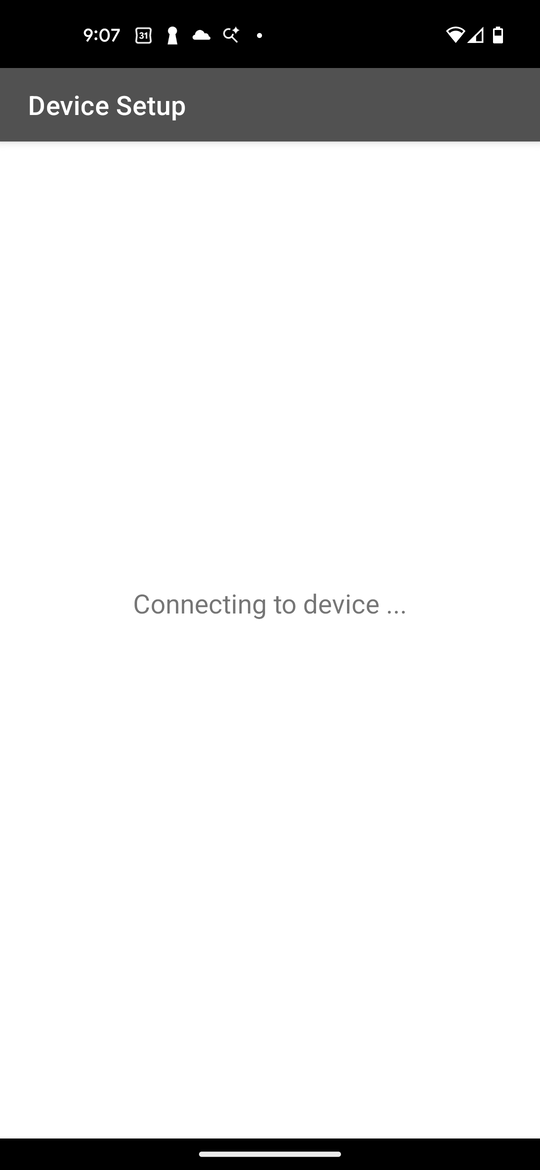
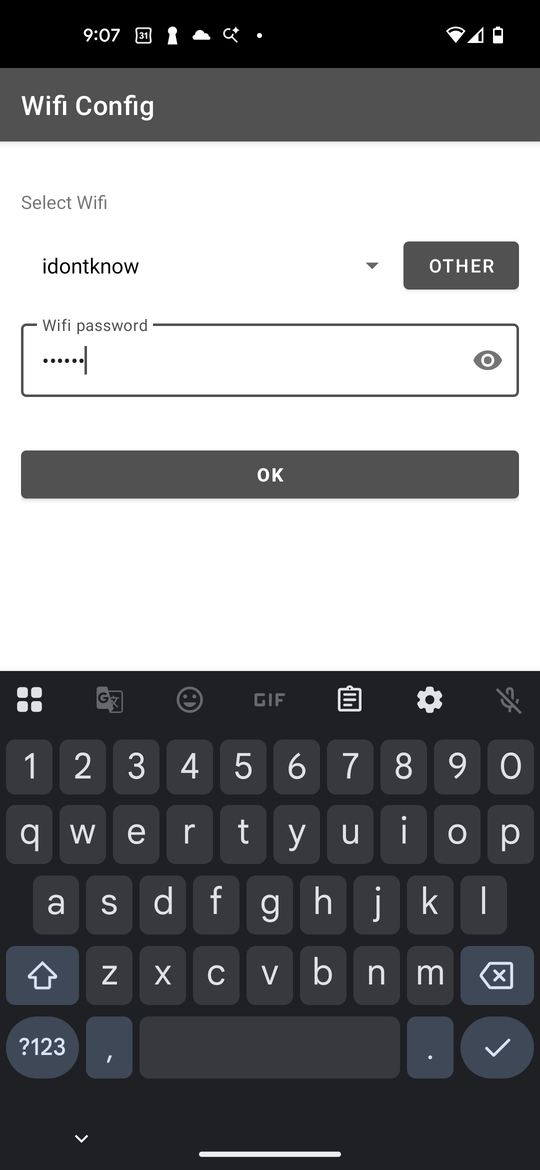
Plug the display in, then let the app find it over Bluetooth and hand it your Wi-Fi details. The network has to be 2.4 GHz — the display cannot see 5 GHz networks, so if yours does not appear in the list, that is usually why.
Choosing what it shows
Open a display from the list to reach its settings. Open a display from My Devices to reach its settings. The app at the top decides what the display shows — a calendar, a photo, your own text, a web page, or nothing at all if you are putting it away.
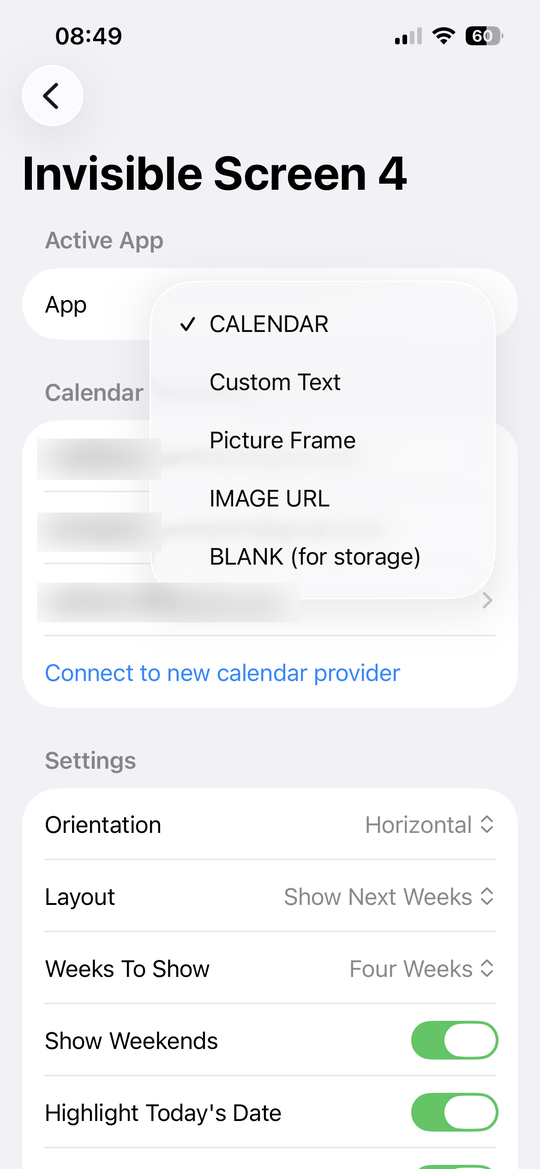
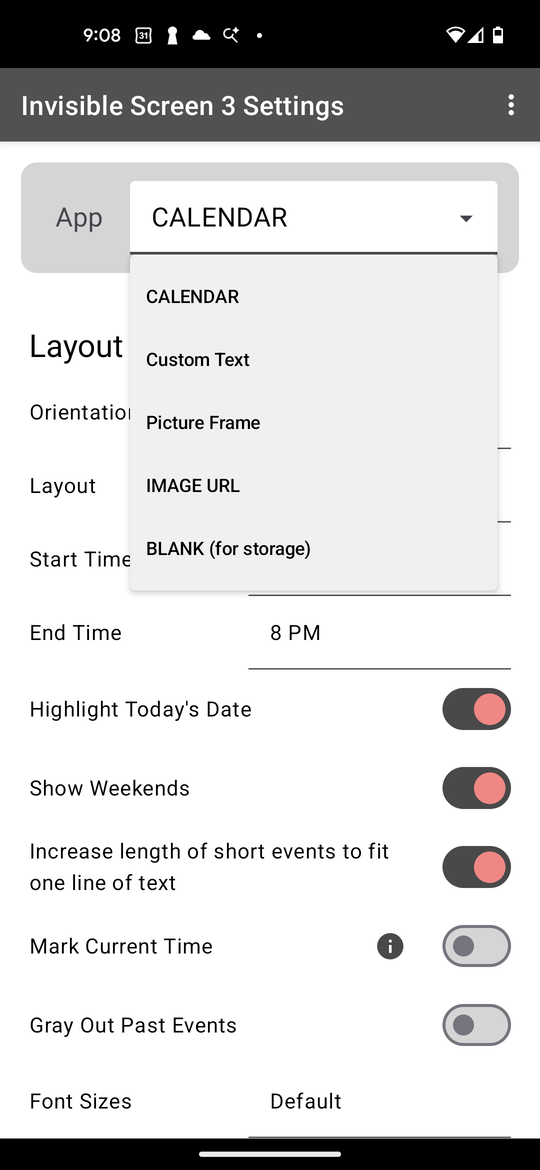
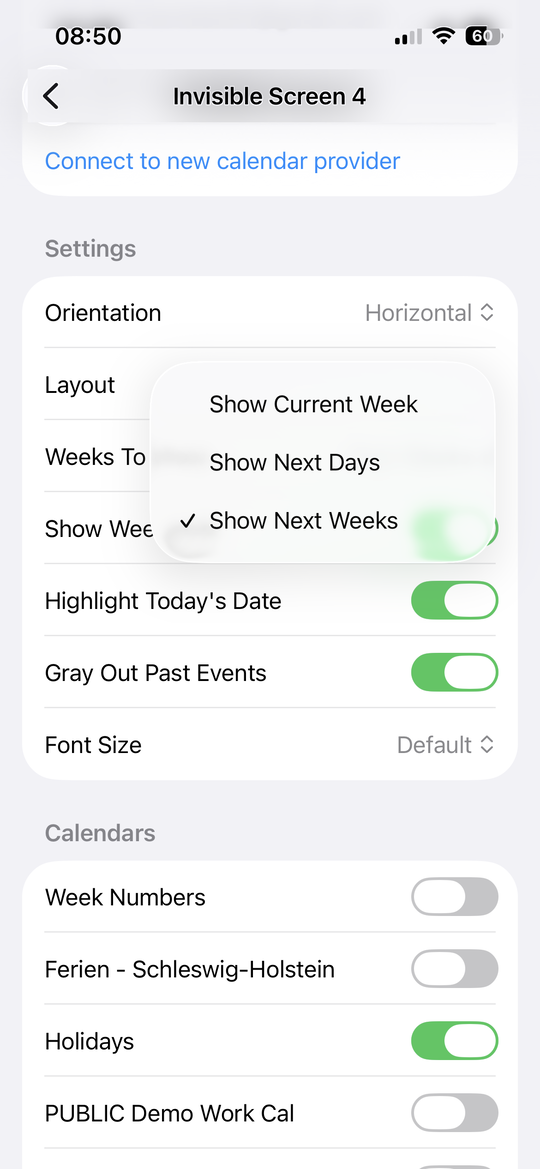
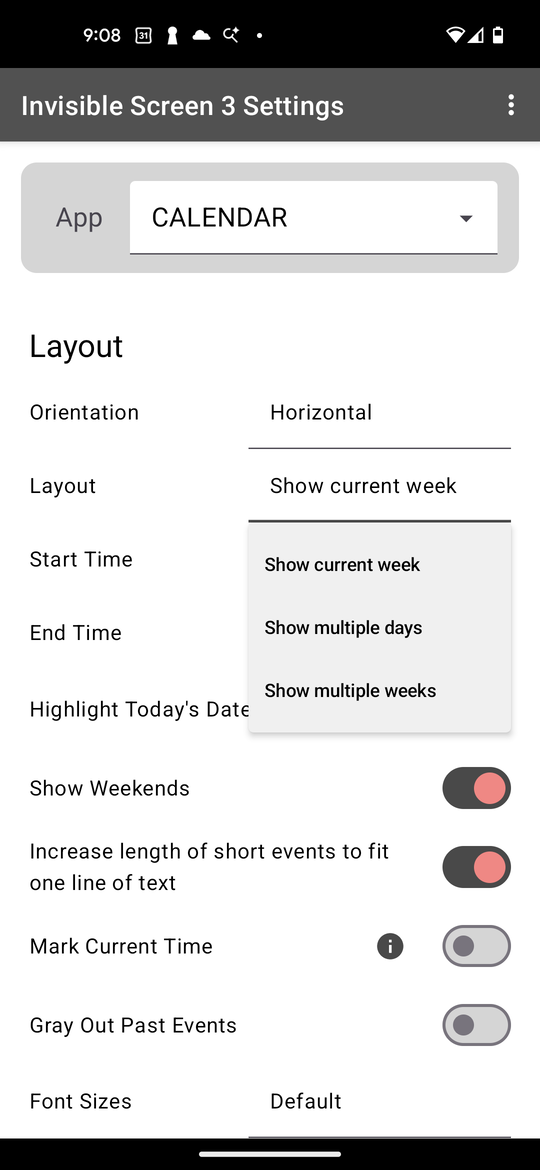
Adjusting the layout
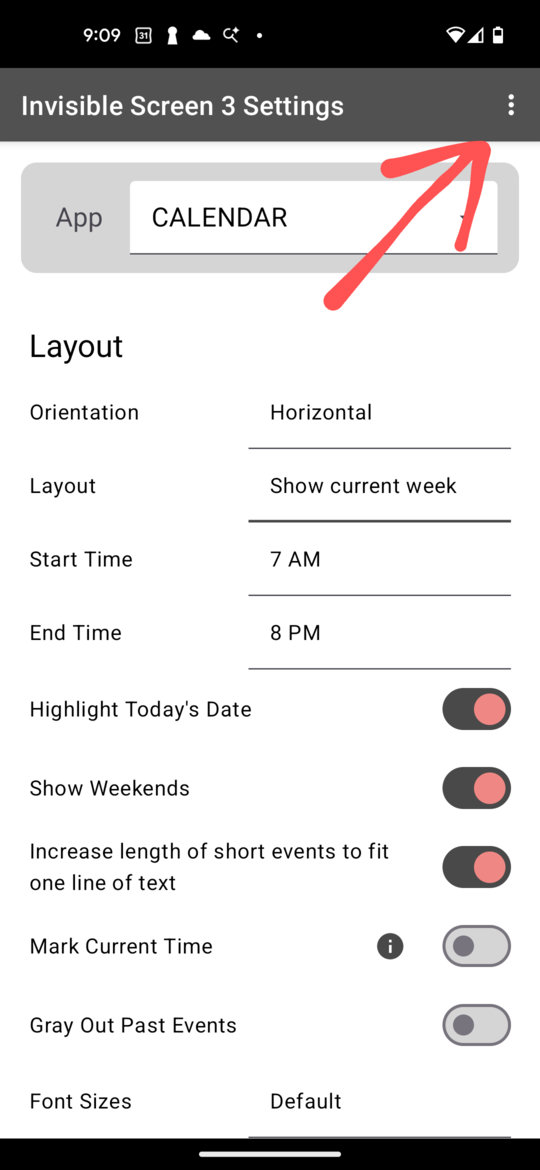
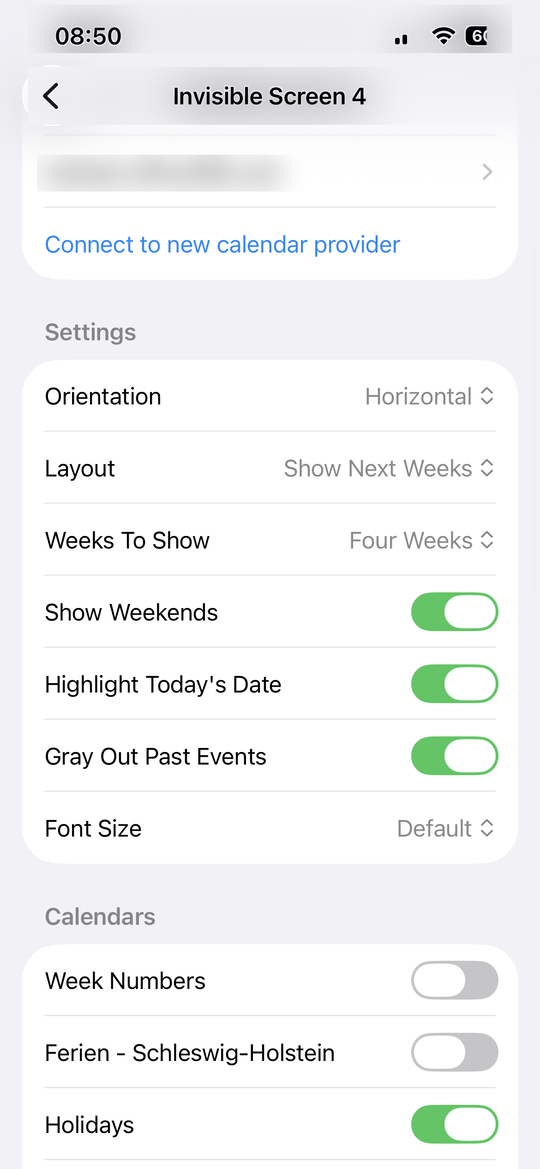
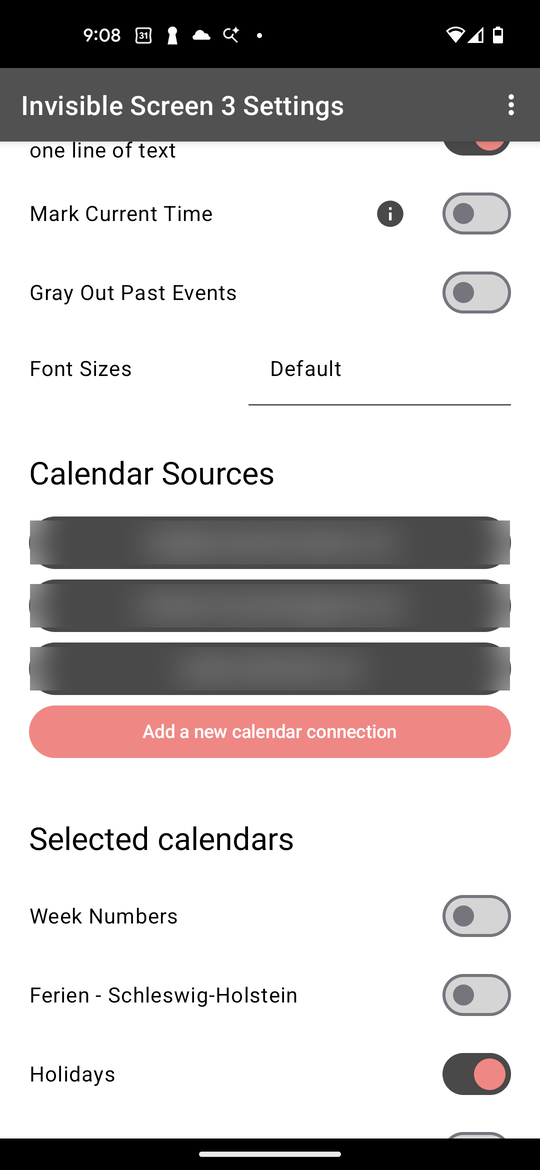
Each app has its own settings underneath — how the page is oriented, how much of the week to show, which details to include. Changes reach the display on its next refresh rather than instantly.
Connecting calendars
The calendar app reads from accounts you connect — Google, or anything that offers an ICS link. Once an account is connected you pick which of its calendars the display should include.
Removing a display
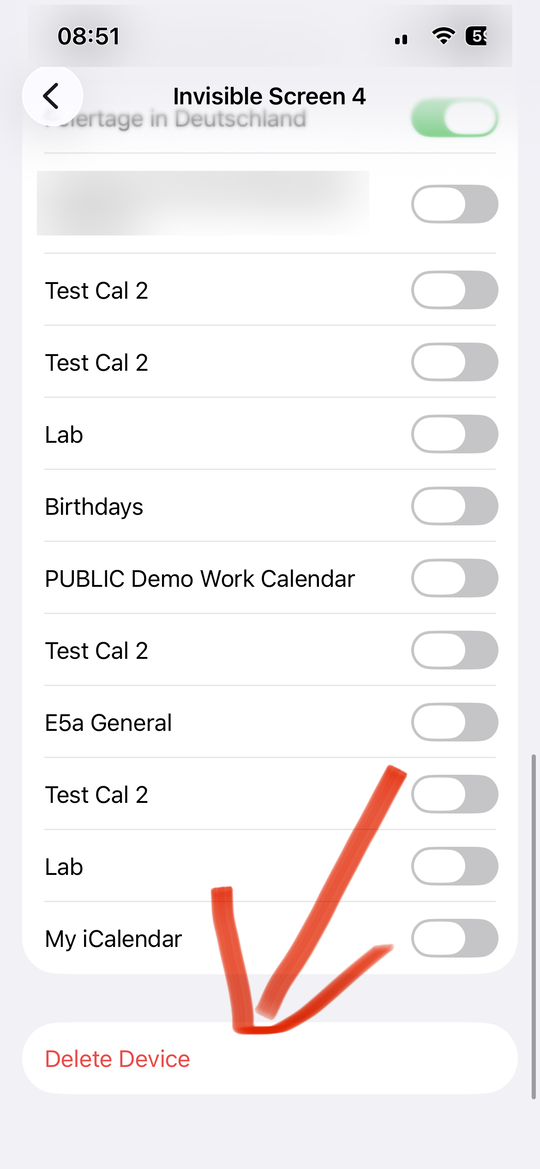
Deleting a display from the app clears its configuration so it can be set up again, or handed on to someone else. It is at the bottom of the display’s settings. It is in the menu behind the three dots, top right.